Step-by-Step Surface Grinding Machine Setup and Operating Guide for Beginners
Getting the right finish from a surface grinder machine starts long before the spindle turns. For new operators, understanding the correct setup sequence – from mounting the wheel to hitting your final flatness tolerance – is what separates a good part from a scrapped one. This guide walks through every critical step in operating a surface grinding machine, with a specific focus on wheel dressing, magnetic chuck setup, depth of cut selection and achieving consistent flatness. Whether you are working with a hydraulic or manual surface grinding machine, these fundamentals apply across the board.
Surface Grinding Wheel: Mounting and Initial Inspection
Before touching the surface grinder, inspect the grinding wheel visually for cracks, chips or uneven wear. Perform a ring test by tapping the wheel gently – a clear ringing tone confirms structural integrity. A dull thud indicates internal damage; do not mount that wheel.
Mount the wheel on the spindle using flanged adapters with blotting paper or plastic washers between the flanges and wheel faces. Tighten the spindle nut firmly but avoid overtightening, which can crack the abrasive. Always run a newly mounted wheel at operating speed for at least one minute before bringing it near the workpiece. This safety spin-out confirms balance and identifies any vibration that may affect grind quality.
Hydraulic Surface Grinder Table: Truing and Dressing the Wheel
Wheel dressing is one of the most critical steps in surface grinding. A glazed or loaded wheel produces heat, chatter and poor surface finish. Dressing restores sharpness and ensures the wheel face runs true to the spindle axis.
Follow these steps:
- Mount a single-point diamond dresser or rotary diamond roll in the magnetic chuck or a dedicated dresser holder on the machine table.
- Position the dresser directly below the wheel centerline.
- Set the dressing depth to approximately 0.001 to 0.002 inches (0.025 to 0.05 mm) per pass – never more on a first dress.
- Engage the table traverse at a moderate feed rate. Too fast produces a rough wheel face; too slow glazes it.
- Make two to three light passes until the full wheel face contacts the dresser uniformly.
- After dressing, blow away the swarf and inspect the wheel face visually – it should appear clean and uniformly gray.
On a hydraulic surface grinding machine, the table feed is controlled through the hydraulic circuit, allowing smooth, consistent traverse speed during dressing. Always disengage the hydraulic feed before repositioning the dresser to avoid accidental contact.
Read Our Article
Types and Uses of a Grinding MachineSurface Grinding Magnetic Chuck Setup: Securing the Workpiece Correctly
Improper workpiece holding is one of the leading causes of poor flatness in surface grinding. The magnetic chuck must be clean, demagnetized from the previous job and free of any burrs or raised edges.
Step-by-step magnetic chuck setup:
- Clean the chuck surface thoroughly with a flat stone or fine abrasive paper to remove any nicks or raised metal from prior operations.
- Place the workpiece flat on the chuck, ensuring maximum surface contact. Thin or small parts may need parallel blocks or grinding vises to prevent movement.
- Engage the chuck by turning the lever to the “on” position. On electromagnetic chucks, confirm the indicator lamp is active and the clamp force is adequate for the part weight.
- Attempt to slide the workpiece by hand to confirm it is fully held – no movement should occur.
- For parts with interrupted surfaces (slots or holes), use additional holding blocks around the perimeter to prevent movement under cutting forces.
Always check that the workpiece does not extend beyond the chuck edges in the direction of wheel travel. Overhanging parts can tip under grinding pressure, causing crashes or taper errors.
Our Other Product
Slotting MachinesSurface Grinder Machine Depth of Cut: Setting It Right
Choosing the correct depth of cut (infeed) is essential for controlling heat generation, wheel wear and dimensional accuracy. New operators often infeed too aggressively, causing thermal damage and workpiece distortion.
Follow this depth of cut sequence:
- Set the initial roughing depth at 0.0005 to 0.001 inches (0.012 to 0.025 mm) per pass for ferrous materials on a standard surface grinder.
- Reduce depth to 0.0002 to 0.0005 inches (0.005 to 0.012 mm) during finishing passes.
- For the final spark-out pass, set zero infeed – allow the wheel to traverse the full table length two to three times without additional downfeed. This removes any remaining deflection and improves flatness.
- Use flood coolant throughout if grinding hardened steel or tool steel. Dry grinding these materials causes surface burns that weaken the workpiece.
On a hydraulic surface grinder, the down-feed handwheel or automatic down-feed increment control sets depth precisely. Most machines have graduated dials with 0.0001-inch (0.0025 mm) resolution – use them carefully and verify with a dial indicator before starting production runs.
Read Our Article
Machine Tools – Grinding MachineAchieving Flatness Tolerance of Hydraulic Surface Grinder: Step-by-Step Finishing Process
Flatness tolerance is the measure of how close the ground surface comes to a true geometric plane. Typical workshop tolerances range from 0.0005 to 0.002 inches (0.012 to 0.05 mm) over the part length, though precision work may demand tighter results.
Steps to achieve consistent flatness:
- After rough grinding, demagnetize and flip the workpiece. Lightly grind the second face to relieve any stress distortion from the clamping force on the first face.
- Flip back to the primary face and take light finishing passes.
- Use a surface plate and dial gauge or a precision straight edge to measure flatness after each finishing pass. Record the readings at four corners and the center.
- If one edge consistently reads high, check for chuck contamination or debris under the part – re-clean and re-clamp before continuing.
- Perform the final spark-out passes with the coolant fully engaged and table traverse set to a slow feed rate.
- Release the chuck, demagnetize the part using the chuck’s degaussing cycle and measure on a surface plate using a dial test indicator. This confirms the final flatness reading against your tolerance requirement.
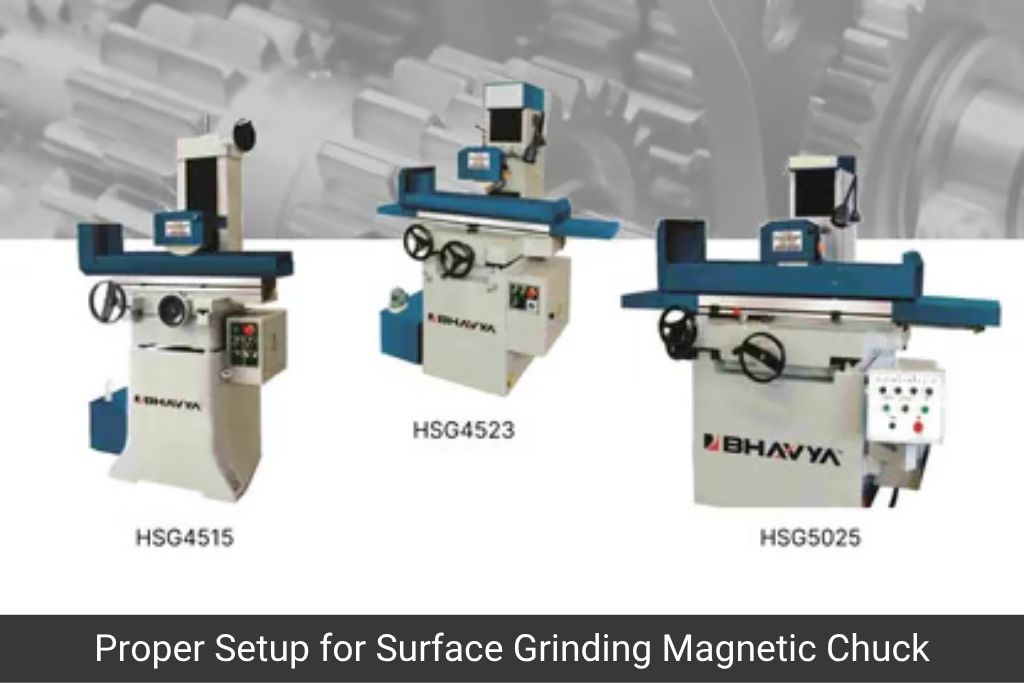
At Bhavya Machine Tools, surface grinding machines are engineered with precision-ground tables and rigid column construction to minimize deflection during finishing cuts – a critical factor when chasing tight flatness tolerances in production environments.
What Our Customers Say
“Our production speed has improved ever since we got a Bhavya machine. It’s smooth, durable, and works exactly as promised.”
Arti Mishra On Google
Post-Operation: Shutdown and Maintenance Steps
- Return the wheel head to its uppermost position to prevent accidental contact with the chuck.
- Clean the chuck surface and apply a light rust-preventive oil.
- Drain or recirculate the coolant tank to remove swarf accumulation.
- Inspect the wheel face for loading or glazing – dress before the next session if needed.
- Log the wheel diameter, number of dresses and total grinding time for wheel life tracking.
 Email Us Now!
Conclusion
Mastering a surface grinding machine comes down to disciplined setup habits – correct wheel dressing, clean chuck preparation, controlled depth of cut and systematic flatness verification. Each step in this guide directly influences the precision and repeatability of your ground components. With the right technique and a well-maintained hydraulic surface grinding machine from a trusted manufacturer like Bhavya Machine Tools, new operators can consistently achieve professional-grade flatness results from their very first production runs.


