Lathe Machine Operation: A Complete Step-by-Step Setup Guide for New Users
Setting up a lathe machine for the first time can feel overwhelming, but breaking it down into clear, sequential steps makes the process manageable and safe. Whether you are working with a light duty lathe machine in a small workshop or a heavy duty lathe machine on a production floor, the foundational setup process remains consistent. This guide walks beginners through every critical stage – from workpiece mounting to making that first confident cut.
Step 1: Lathe Machine Inspection and Pre-Setup Safety Checks
Before touching any controls, conduct a thorough visual and mechanical inspection. This is non-negotiable regardless of the machine type – be it an all geared lathe machine, a DRO lathe machine or a medium duty lathe machine.
Check the following before powering on:
- Inspect the bed, carriage and tailstock for any debris, chips or coolant residue from previous use
- Verify that the chuck key is removed from the chuck – a spinning chuck with a key attached is one of the most common workshop accidents
- Confirm that the power switch is in the OFF position before plugging in or enabling the machine
- Check all guards and safety shields are properly in place
- Inspect the tool post and ensure no tools are loose or improperly seated
- Look for any visible damage to belts, gears or electrical connections
Machines from Bhavya Machine Tools, as a reliable lathe machine manufacturers are built with accessible safety interlocks and clearly labeled controls, which simplifies this step for first-time users. Always refer to the machine’s user manual for model-specific pre-start checks.
Step 2: Workpiece Mounting – Securing the Material Correctly
Correct workpiece mounting directly affects the quality of your cut and your personal safety. An improperly secured workpiece can fly off at high speed during operation.
For mounting using a three-jaw chuck (most common for beginners):
- Open the chuck jaws using the chuck key by turning it counter clockwise
- Insert the workpiece – typically a cylindrical bar – into the jaws
- Hand-tighten the jaws first to center the piece, then tighten firmly with the chuck key in all three keyways in sequence to ensure even grip
- Give the workpiece a gentle hand-spin to feel for wobble or eccentricity
- For longer workpieces, support the free end using the tailstock and a live center to prevent deflection during cutting
For a four-jaw independent chuck (used on a precision metal lathe machine for non-cylindrical or off-center work):
- Each jaw is adjusted independently
- Use a dial test indicator (DTI) to precisely center the workpiece – rotate the spindle slowly and adjust each jaw until the DTI reads consistent runout
Key mounting tips:
- Never exceed the chuck’s rated gripping diameter
- Ensure the workpiece does not extend more than three times its diameter beyond the chuck without tailstock support
- For heavy or large-diameter stock on a heavy duty lathe machine, use a steady rest or follow rest for additional support
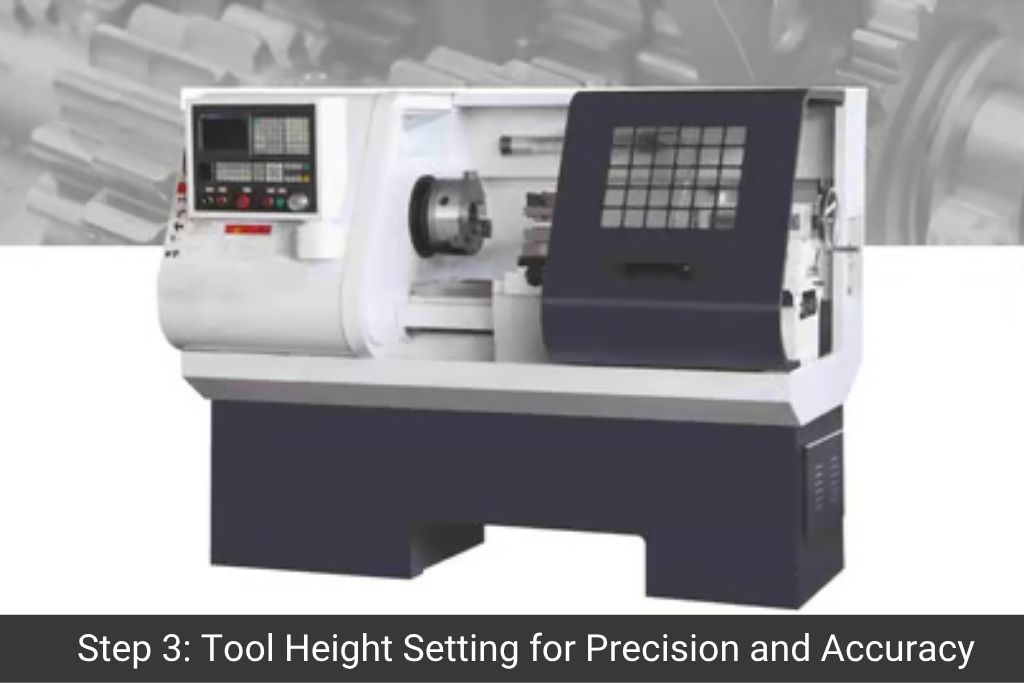
Step 3: Tool Height Setting – Getting It Precisely Right
Incorrect tool height is one of the most frequent beginner mistakes and leads to poor surface finish, tool chatter and premature tool wear.
The cutting tool tip must be set exactly at the spindle centerline.
How to set tool height correctly:
- Mount the cutting tool in the tool post and tighten it securely – avoid excessive overhang beyond the tool post, as this causes vibration
- Bring the tool tip close to the tailstock center
- Visually align the tool tip with the tip of the tailstock center – they should meet at the same height
- For greater accuracy, hold a steel rule vertically between the tool tip and the workpiece; when the rule stands perfectly upright, the tool is at center height
- On a DRO lathe machine, you may use digital readout reference points to confirm center height after initial manual setup
Why center height matters?
- Tool set too high: Rubs instead of cuts, generates excess heat, causes tool breakage
- Tool set too low: Creates a poor cutting angle, leaves a rough surface finish and can cause the tool to dig in
CNC lathe machine setup often include quick-change tool posts, which simplify and speed up tool height repeatability for multiple tools.
Step 4: Speed Selection – Choosing the Right RPM for Your Material
Spindle speed selection depends on the material being cut, the workpiece diameter and the type of operation (roughing or finishing). Running at incorrect speeds damages tools and workpieces alike.
Common cutting speeds for reference:
- Mild steel: 20–30 m/min (HSS tooling)
- Aluminium: 60–100 m/min
- Brass: 45–60 m/min
- Stainless steel: 10–20 m/min
On a manual all geared lathe machine or universal all geared lathe machine, speed is selected by adjusting the gear levers according to the speed chart on the headstock. Always come to a full stop before changing gear positions.
On a hydraulic lathe machine, speed changes are smoother and can often be adjusted steplessly while the machine is running – refer to the manufacturer’s guide for safe operating ranges.
On a CNC lathe machine, spindle speed is programmed directly in the G-code (S-word command) and the machine manages speed changes automatically.
Practical speed selection tips for beginners:
- Start at a lower speed than calculated – you can increase it once you confirm the cut is stable
- Larger diameter workpieces require lower RPM for the same surface cutting speed
- Use higher speeds for finishing passes and lower speeds for roughing cuts with heavy depth of cut
- If the tool chatters or vibrates, reduce speed immediately
Bhavya Machine Tools offers a wide range of machines – from light duty lathe machine to medium duty lathe machine to heavy duty lathe machine – each with clear speed range charts, making speed selection straightforward even for first-time operators.
Step 5: Feed Rate and Depth of Cut – Setting Up Before the First Cut
Before engaging the feed, set your depth of cut and feed rate.
Depth of cut:
- For roughing: 1–3 mm depending on material hardness and machine rigidity
- For finishing: 0.1–0.5 mm for a clean surface finish
Feed rate:
- On a manual machine, select the feed using the feed gearbox levers (refer to the feed chart on the machine)
- Coarser feeds remove material faster; finer feeds produce smoother surfaces
On a precision metal lathe machine, a finer feed rate combined with a sharp tool and correct speed produces an excellent surface finish without additional grinding or polishing.
What Our Customers Say
“Our production speed has improved ever since we got a Bhavya machine. It’s smooth, durable, and works exactly as promised.”
Arti Mishra On Google
Step 6: Final Safety Check before the First Cut
With the workpiece mounted, tool set and speed selected, run through this final checklist:
- Chuck key fully removed – visually confirm, not just by feel
- All guards are in position
- Coolant system is ready if required
- No tools, rags or debris are on the bed or near rotating parts
- You are standing to the side of the chuck, not directly in front of it
- Safety glasses are on
Engage the spindle at the selected speed and observe the workpiece rotation for a few seconds before applying the cutting tool. Listen for any unusual vibration or noise. Once everything looks and sounds stable, bring the tool into contact with the workpiece with a slow, controlled hand feed to begin your first cut.
 Email Us
Conclusion
Setting up a lathe machine correctly is a skill that becomes second nature with practice and getting each step right from the start builds a strong foundation for safe and precise machining. Whether you are looking to buy lathe machine equipment for a new workshop or are training on an existing setup, following this step-by-step process eliminates guesswork and reduces the risk of accidents. Bhavya Machine Tools provides a comprehensive range of lathe machines suited to every application, along with the technical support to help new users get operational quickly and confidently.


